The issue of what to have for christmas dinner (or the non-christmas winter holiday dinner of your choice) is controversial. As much as I enjoy turkey, it seems like the wrong option to me. Many people (me included) have just eaten a turkey for thanksgiving, the only other turkey they are likely to eat all year. Having another one so soon makes no sense to me. If you had american thanksgiving, you just had a turkey at the end of November! We have foolishly cornered nearly all of our collective turkey consumption into a tiny window of the year. I advocate for variety in our winter gluttony-based festivals.
My family has been having beef wellington for christmas dinner for a few years, and, from the very first time we had it, I felt that it was a superior holiday entree option. It is meat, wrapped in another meat, wrapped in pastry-I think it's wise to take every opportunity to eat tasty food wrapped in other tasty foods.
Beef wellington is a little complicated to make; there are a lot of steps and it can be a bit intimidating. However, a few steps can be done in advance, which makes the assembly easier on the day. The pastry can be made several days in advance and stored in the fridge or made even further in advance and frozen. Or it can be purchased! Puff pastry is really fun to make (I think so anyway) but store bought is still really good, especially if you can buy all butter puff pastry. Feel free to skip this whole step if you aren't inclined to make puff pastry at home. I have broken the recipe down into several posts to this isn't a monstrously long post and the next steps are coming soon!
I made four individual portions of beef wellington, which only used halve of the puff pastry this recipe makes. Freeze the other half for another use, or double the rest of the recipes for eight portions.
puff pastry:
adapted from foodbeam
wet dough:
- 150ml water
- a big pinch flaky salt
- 350g flour
- 110g butter, melted and cooled
In the bowl of a stand mixer, mix flour, salt and butter until they are just combined. Using a low speed, slowly add water, only adding enough to bring the dough together without making it sticky. Turn the dough out onto plastic wrap and press into a large rectangle with the palm of your hand. Refrigerate, tightly wrapped in cling wrap.
butter dough:
- 375g butter
- 150g flour
Cream the butter on a high speed in a stand mixer for two minutes. Add the flour and mix quickly until just combined. Press into a rectangle on plastic wrap, the same size as the wet dough. Wrap tightly and refrigerate both doughs for at least two hours.
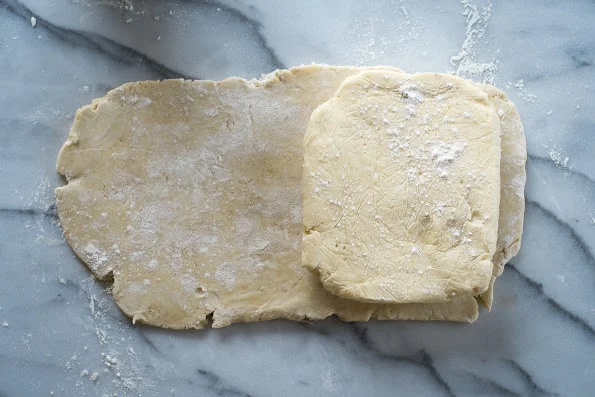
On a lightly floured surface, roll the wet dough out to twice its original length. Place the butter dough onto one half of the rolled out wet dough, as in the photo below. Fold the wet dough over the butter block and tuck the edges in around the sides so no more of the butter block shows. Roll out this layered block twice as long again.
Fold the outside edges into the center of the rectangle.
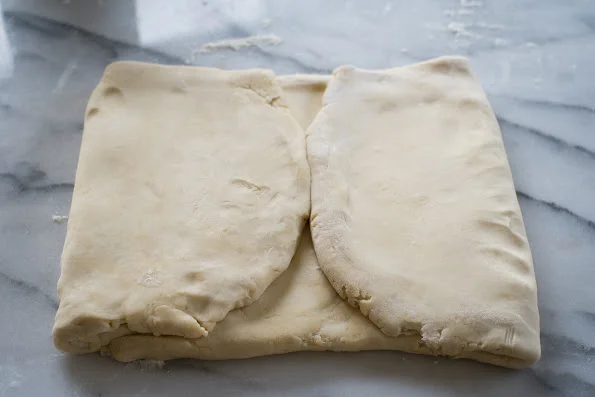
Fold toward the center again. Your dough should look like the picture below. Refrigerate for at least two hours.
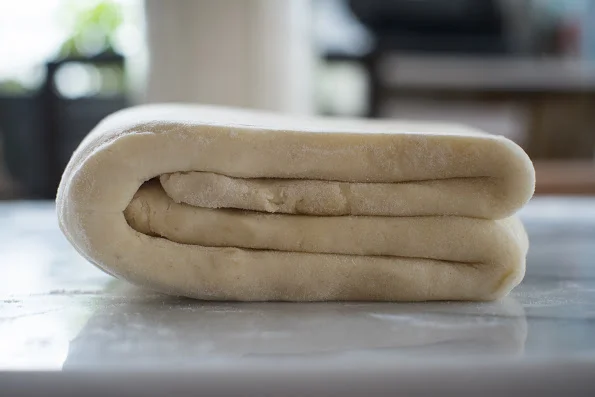
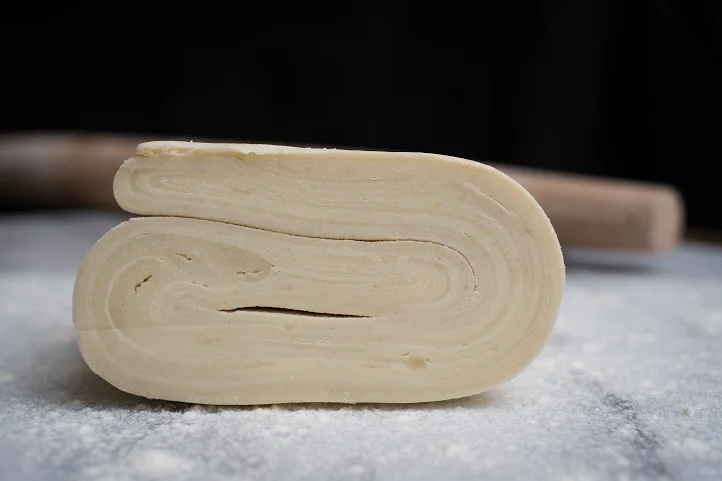
Roll dough out again and repeat the fold and roll process two more times. The dough is ready! Store in the fridge, tightly wrapped in plastic wrap, or in the freezer if you will be keeping it for longer than a few days.
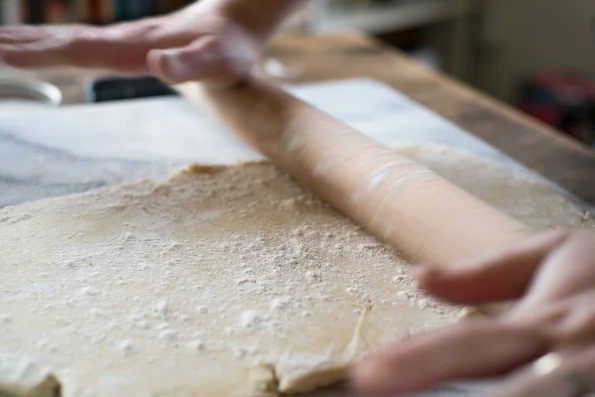
Photo credits: Tyrel Hiebert