• Home
  • About me
  • Recipes
  • Contact
Menu

the verdigris

Street Address
City, State, Zip
Phone Number
eat.drink.dig.make.grow.play

Your Custom Text Here

the verdigris

  • Home
  • About me
  • Recipes
  • Contact

snickers cake

October 30, 2016 Stephanie Inman

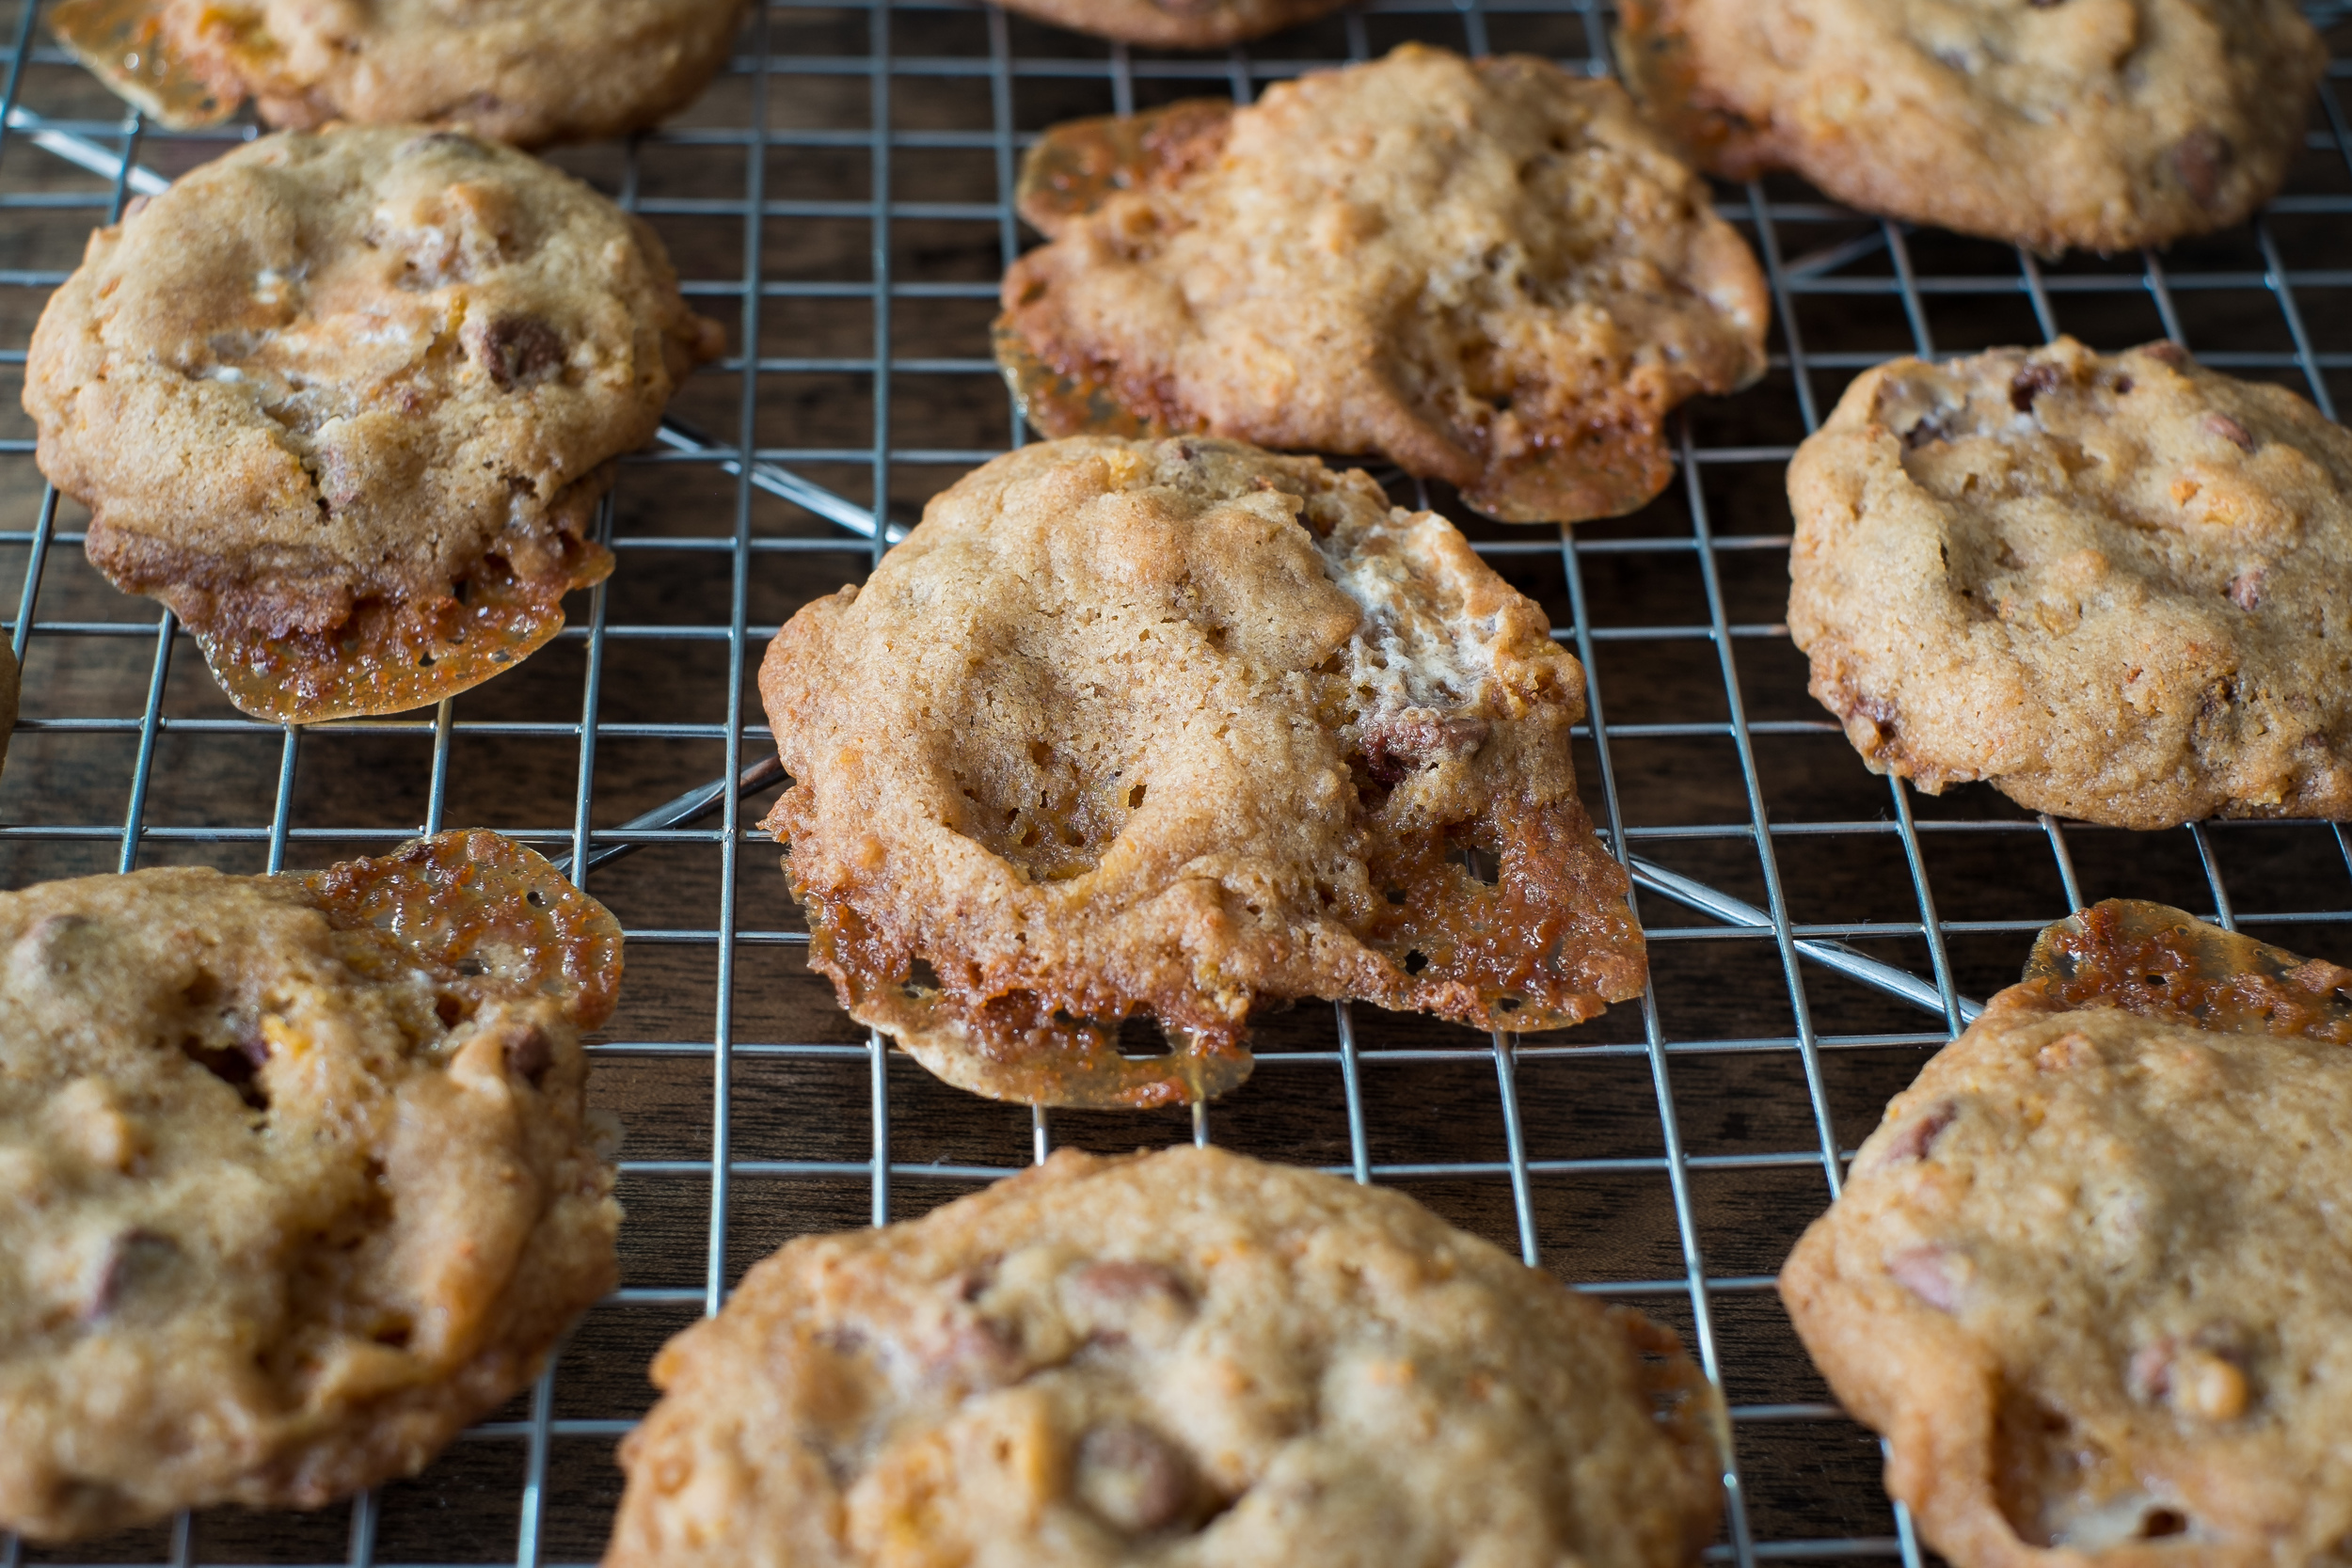
The combination of chocolate and peanut butter is very polarizing; it inspires strong feelings in both directions. I love chocolate and peanut butter together but I know lots of people who don't. According to a highly scientific poll I took of a couple people who dislike chocolate and peanut butter, chocolate and peanuts are a much less controversial combo. Confirmed chocolate & PB haters got enthusiastically on board with this cake, which is loaded with salty peanuts but is not at all peanut buttery. It's inspired by snickers bars with chocolate cake layers, caramel frosting with caramel drizzle on top and lots of peanuts. I have taken some liberties with the snickers theme and amped up the salt, using salted roasted peanuts and salty caramel.

Note: I used two 6 inch cake pans for this cake, which makes four cake layers with some extra batter left over. The batter freezes well and you can thaw it later and use it to bake some cupcakes.

chocolate cake: 

from Baked: New Frontiers in Baking

  • 3/4 cup cocoa powder
  • 1 1/4 cups hot water
  • 2/3 cup sour cream
  • 2 2/3 cups all-purpose flour
  • 2 tps baking powder
  • 1 tps baking soda
  • large pinch salt
  • 3/4 cup unsalted butter, softened
  • 1/2 cup shortening 
  • 1 1/2 cup granulated sugar
  • 1 cup brown sugar
  • 3 large eggs
  • 1 tbs vanilla extract

Preheat oven to 325°F. Combine the cocoa powder, hot water, and sour cream and set aside. Mix the flour, baking powder, baking soda, and salt together into a medium bowl and set aside. In the bowl of an electric mixer fitted with the paddle attachment, beat the butter and shortening for 5 minutes. Add the sugars and beat until light and fluffy, about 5 more minutes. Add the eggs one at a time and beat thoroughly after each addition. Add vanilla and beat again. Alternate between adding the flour mixture and the cocoa mixture, beating in between additions. 

Grease two 6 inch cake pans and line the bottoms with parchment paper. Divide the batter between the pans, reserving a third of the batter for later. Bake for about 45 minutes, or until a toothpick inserted in the middle comes out clean. Let cakes cool before removing from their pans. Run a paring knife along the edge of the pans to loosen the cake from the pan edges before removing from the pan.

When the cakes are entirely cool (or even better, cold from the fridge) carefully divide each cake into two layers with a long bread knife. 

salty caramel: 

adapted from sally's baking addiction

  • 2 cups granulated sugar
  • 3/4 cup salted butter, cut into pieces
  • 1 cup heavy cream
  • 2 or 3 (or more!)  teaspoons salt

Melt sugar in a pan over medium heat, stirring until fully dissolved. Continue stirring constantly until sugar is deep gold. Add butter and stir until incorporated into sugar.  Still stirring, add cream in a slow stream. Sugar will bubble up. Continue cooking for one minute and then remove from heat. 

The caramel can be made in advance and stored in the fridge. 

caramel frosting: 

adapted from Martha Stewart

  • 1 1/4 cups sugar
  • 2/3 cup water 
  • 5 egg whites or 1/2 cup + 2tbs pasteurized egg whites (the kind that come in a box)
  • 2 cups butter, softened
  • 1 vanilla bean's innards or 1 tsp vanilla extract

Bring sugar and water to a boil in a small sauce pan. Using a candy thermometer to monitor the temperature, continue boiling until the mixture reaches 238°. 

As the sugar is boiling, whip the egg whites in the bowl of a stand mixer. The goal is to get the egg whites stiff when the sugar reaches 238°; if they are getting close to stiff but the syrup isn't close I turn the mixer to low until the syrup is nearly up to temperature. 

Once the sugar syrup is up to temperature, turn mixer up to high and pour the syrup into the egg whites in a very thin stream. Lower speed to low and beat until the outside of the mixer bowl is no longer warm to the touch. Add butter in small chunks, about 2-3 tbs butter at a time. The frosting will very likely curdle at this stage; this is normal and it should resolve if you keep beating long enough. Just keep on beating!

Once the frosting comes together again, add the vanilla and mix thoroughly, scrapping down the bowl. Then add caramel gradually until it's very caramely and is a nice caramel colour. Taste as you go to and adjust caramel levels as desired. 

assembly: 

  • chocolate cake layers
  • caramel
  • caramel frosting 
  • lots of salted peanuts, roughly chopped

If you have one, assemble the cake on a turntable or a cake stand. 

Lay out cake layers and using an offset spatula, spread frosting in an even layer over one cake layer. Drizzle caramel over the frosting and sprinkle on a handful of peanuts. Place another cake layer on top and continue to frost and layer the remaining cake layers in the same way.

Frost the top and outside of the cake quickly and roughly, covering all exposed cake. Refrigerate the cake for 20 minutes to set up the frosting. Spread more frosting all over the cake, smoothing it with a bench scraper held against the edge of the cake while you turn the turntable. 

Pour the remaining caramel over the cake so it drips down he side. Top with the remaining peanuts. 

Woosh!

Woosh!

Photos: Tyrel Hiebert 

In cake Tags chocolate, peanuts, salted caramel
2 Comments

grilled eggplant, olive and feta pizza

August 26, 2016 Stephanie Inman
DSCF4970.jpg

I have never understood the advice I see in cookbooks and all over the food-internet about how to reduce the bitterness of eggplants. I have never found eggplant to be bitter. It seems like it has a sweet and fairly bland flavour best served by grilling or roasting to caramelize it and give a flavour boost. If any quality of eggplant were to be widely lamented, I would have thought that it would be eggplant's tendency to go a bit spongy and stodgy if cooked badly or in too-large pieces. But anti-bitterness advice abounds. 

Am I just winning the eggplant lottery? Choosing sweet and mild eggplants every time while others wind up with sad, acrid specimens that they are forced to attempt to debitter? 

Maybe I missing some vital eggplant-detecting tastebuds or genes? 

The most troubling possibility though, is the thought that maybe eggplant isn't actually bitter at all. Perhaps all this talk of bitterness is a lie, an international conspiracy by a shadowy anti-eggplant lobby. Moving in the darkness, these eggplant slanderers work to discourage eggplant use and to generally smear its good name.  They are probably also behind the popular and, quite frankly, vulgar use of the eggplant emoji. Another bald-faced attempt to sour public opinion of the eggplant.

Obviously eggplant's continued popularity is the only thing between us and the new world order, or full reptilian takeover or some similarly apocalyptic fate. Help fight the eggplant-illuminati by making this tasty eggplant pizza. It's olivey and garlicky and feta-briney and a little bit spicy. But it's not bitter. 

Eggplant note: I did nothing in this recipe to combat bitterness because, as noted, eggplant is not bitter. However, if you find eggplant bitter, do whatever you normally do to prevent that. Just like the man wants you to. 

pizza dough

adapted from smitten kitchen

  • 1 1/2 cups flour 
  • 1 teaspoon  salt
  • 3/4 teaspoon active dry yeast
  • 1/2 cup warm water 
  • 1 tablespoon olive oil

Put flour, salt and yeast in a bowl and add water and oil. Stir until everything mostly comes together. Turn the dough out onto a floured surface and knead for a couple minutes. Lightly oil a bowl and place dough in the bowl, turning to coat dough with oil on all sides. Cover with a kitchen towel and let rise in a warm spot for 1-2 hours or until doubled in size. 

Deflate the dough gently and gather into a ball. Set aside while you prepare the toppings. 

eggplant, feta and olive pizza:

  • olive oil, a couple big glugs
  • a big handful cherry tomatoes, sliced very thinly
  • 4 cloves garlic
  • chile flakes 
  • one medium eggplant
  • 2 cups shredded mozzarella
  • 1 cup crumbled feta 

Grate four cloves of garlic with a rasp. Combine with 3 tbs olive oil and a large pinch of chile flakes. Set aside. 

Brush eggplant slices with olive oil. Grill slices on a grill pan or barbecue over medium heat until they have deep brown grill marks, about two minutes. Flip and repeat until all slices are well grilled on both sides.

Stretch dough large enough to fit to the edges of a cookie sheet. Sprinkle the cookie sheet with rough cornmeal and place the dough on top. Brush the dough with the chili garlic oil, making sure to coat the edges well. Lay tomato slices over the dough. 

Sprinkle 2/3 of the mozzarella over the dough. Lay eggplant slices over the cheese in an even layer. Sprinkle olives, feta and a bit more mozzarella on top. Crack black pepper over top. Bake the pizza as hot as your oven will go until the cheese is blistered and the exposed crust round the edges is golden.

Photos: Tyrel Hiebert 


In pizza Tags eggplant, olives, feta
Comment

strawberry raspberry rhubarb slab pie

August 9, 2016 Stephanie Inman

Slab pie is highly transportable. I made this one to take on a camping trip and it stood up to the journey beautifully. I made it two days before the trip and wrapped it, still in the pan, in several layers of plastic wrap. Then I stuck it in bag and put a bunch of other food on top (only light things like potato chips to avoid crushing) and hauled it off to our campsite. It survived being wedged between tents and coolers in the back of a car. I think that sitting around for a couple days actually improved it and helped the filling set up so that you can easily slice pieces that hold together. I highly recommend it for any summery, sitting-on-a-blanket-on-the-grass type activities you have planned for August. All you need is a knife to cut slices, plates and forks are optional. 

The pastry I used is from a Bon Appetit recipe and it's a bit different that other pie doughs. It has almond flour and a couple egg yolks in it, which I hadn't seen before. I have made it a bunch of times with various different fillings since the sour cherry pie recipe came out two years ago in Bon Appetit, and it has never failed. It always comes out perfectly flaky and it never gets tough. I know every pie dough recipe everywhere makes claims to be the magical, never tough, perfect, easy dough. But this is really it. Just try to mess it up, I bet you can't. 

Equipment note: I used a quarter bun pan, or a 9" x 13" jelly roll pan. These pans have a 1" high side and they are just the right size to hold a standard pie crust and filling. 

crust:

adapted from Bon Appetit

  • ⅓ cup almond flour
  • ¼ cup granulated sugar
  • 1 big pinch salt
  • 2½ cups all-purpose flour
  • 1 cup chilled butter, cut into pieces (my butter was not chilled, doesn't seem to matter too much)
  • 2 large egg yolks
  • 1/4 cup cold water

Combine almond flour, granulated sugar, salt, all-purpose flour and butter in a food processor and pulse until mixture is just combined and has a sandy texture. Combine egg yolks and water and drizzle them over the flour mixture. Pulse until just combined. Add a few drops more water if the dough isn't coming together. 

Dump the dough out onto a large sheet of plastic wrap and squish it into a rectangle. Wrap tightly in plastic wrap and chill for at least two hours. 

filling:

adapted from Martha Stewart

  • 5 cups rhubarb, cut into 1/2 inch chunks 
  • 1 cup chopped strawberries
  • 1 cup raspberries 
  • 1 1/2 cups granulated sugar
  • 1/4 cup cornstarch
  • 1 tsp vanilla extract

Combine all ingredients in a bowl. 

assembly: 

Cut chilled dough into two pieces, one slightly larger than the other, about 2/3 for one piece and 1/3 for the other. Roll out the larger piece into a rectangle slightly larger than your pan so that dough hangs over the edge when you lay the dough sheet over the pan. Roll out the smaller piece the same size as the pan. Cut vents into the dough with a knife or cut little circles out with a piping tip. 

Spread the fruit filling over the dough in the pan and cover it with the top sheet of dough. Fold over the overhang and press the dough together to seal. 

Brush the top of the pie with heavy cream and sprinkle generously with sanding sugar if you like. Bake at 375°F for about an hour. If the crust browns too quickly tent it with foil. 

Let cool for at least two hours before serving. 

Photos by Tyrel Hiebert

Tags slab pie, rhubarb, Raspberry, strawberry, pie
Comment

Cornflake marshmallow chocolate chip cookies

June 10, 2016 Stephanie Inman

These cookies feel slightly transgressive to me. There is something really satisfying about baking from scratch and then stuffing the baked goods with industrially processed junk food like marshmallows. Maybe I'll follow this one up with a pie made of pop tarts. 

When I first made these cookies I followed the Milk Bar recipe but I couldn't get them to turn out quite right. They were still really good, just not exactly what I wanted. I wanted the cookies to be slightly flattened but not too thin, chewy in the middle with crispy edges and I wanted there to be some discernible chewy marshmallow goo. What I got was thin very spready cookies, crispy throughout with caramelized crunchy marshmallow edges. They were almost florentine-like. 

These were delicious and no cookies went to waste. But I couldn't achieve the chewiness I wanted. I tried under baking them, I tried baking the dough chilled, baking room temperature dough. I fiddled with the oven temperature. Everything I tried produced cookies that were thinner and crispier than I wanted. So I took the whole idea of the cookie, with the marshmallows, cornflakes and chocolate chips, and I stuck it in a different dough altogether. I used the chocolate chip cookie recipe from Baked: New Frontiers in Baking, which makes softer, thicker cookies.

I still under baked them, because this cookie dough can turn out a little more cakey than I like. Reduced baking time will also help you achieve perfect results with the marshmallows. It is very important to preserve some marshmallow that is melted and chewy but not fully caramelized and brown. These cookies had really deeply caramelized molten marshmallow pools around them and but they also still had white goopy marshmallow on top. The marshmallow exists in two distinct states simultaneously, the superposition of marshmallow. It is allowed to fulfill all of its best possible destinies at once, in one cookie.

cornflake crunch:

adapted from Milk Bar

  • 5 cups (6 ounces) cornflakes 

  • 1/2 cup milk powder

  • 1/4 cup sugar

  • 1 teaspoon salt*

  • 1/2 cup melted butter

Crunch the cornflakes with your hands into small cornflake rubble. Add milk powder, sugar and salt and toss. Drizzle melted butter over and toss to coat the mix with butter and form small clumps. Spread over a cookie sheet and bake at 275° F until golden brown, about 20 minutes.

cornflake marshmallow chocolate chip cookies: 

adapted from Baked: New Frontiers in Baking

  • 2 cups flour

  • 1 teaspoon salt*

  • 1 teaspoon baking soda

  • 1 cup (2 sticks) unsalted butter, softened

  • 1 cup packed dark brown sugar

  • 1/2 cup granulated sugar

  • 2 large eggs

  • 2 teaspoons pure vanilla extract

  • 1 1/2 cups semisweet chocolate chips 

  • 1 1/2 cups cornflake crunch 

  • 1 1/2 cups mini marshmallows

Combine the flour, salt, and baking soda together in a large bowl.

Beat the butter and sugars in the bowl of an electric mixer fitted with the paddle attachment until smooth and creamy. Add eggs one at a time, scraping the bowl in between.  Add vanilla and beat until just incorporated. 

Add the flour mixture 1/2 cupful time and beat after each addition. Fold in cornflakes, marshmallows and chocolate chips. Scoop the dough using a medium size cookie scoop or hand form medium sized cookie dough balls. Chill dough balls in the fridge for at least 1 hr, up to overnight if you like. 

Bake at 375° F until there are crispy melted pools of marshmallow around the edges and still white marshmallow goo on top. I started checking them after 6 minutes and kept checking every minute or two after that. In my oven they took about 8-10 minutes.

Salt note: I generally use measurements for Diamond Crystal salt. If you are using Mortons or another brand, adjust accordingly - this chart can be helpful.

Photos by Tyrel Hiebert 

Tags cookies, cornflakes, marshmallows, chocolate chips
4 Comments

rabbit and green olive ragout

May 29, 2016 Stephanie Inman

Rabbit is very lean meat. It's so lean that it can kill you through rabbit starvation, a rare form of protein toxicity that sometimes kills isolated explorers who run out of vegetables and fat and have only very lean meat to eat for extended periods. There is no danger from rabbit if eaten with vegetables, fat and carbohydrates though, so no need to fear this pasta. But rabbit starvation is good to keep in mind if you're planning an arctic expedition or post-apocalyptic survival bunker. Preppers take note.

Even though it is so lean, it can be very tender if you cook it slowly. Farmed rabbit is very mild meat and it goes well with bright, sour, salty flavours. This ragout has similar flavours to puttanesca: tomatoes, olives, capers and lots of garlic, but it's cooked very slowly. I like to put in some of the olives and capers right near the end of cooking to give both slow cooked and fresher versions of their flavours to the sauce. 

rabbit ragout: 

  • one whole rabbit, cut into pieces (ask your butcher to cut it, or follow these instructions)

  • one pound of tomatoes chopped (fresh, canned or frozen are fine)

  • one cup chicken stock

  • olive or vegetable oil

  • one cup green olives, divided

  • 2 tbs capers, divided

  • one whole bulb of garlic, peeled and smashed

  • one large yellow onion, chopped

  • a bunch of parsley, roughly chopped

  • a generous amount of homemade or dry pasta

In a large dutch oven on medium heat, sear the rabbit pieces with a little oil, browning on all sides. Remove the rabbit and set aside. Sauté the garlic and onions until golden brown.  Add the tomatoes and cook until they begin to soften. 

Return the rabbit to the pot. Add the stock, half the olives and half the capers. Increase the heat until the liquid simmers vigorously and then reduce to medium low. Cook on low until rabbit is very tender and falling off the bone, around 1.5-2hrs. Remove pan from heat. Remove rabbit pieces, shred the meat off the bone and return it to the pan. Add the remaining olives and capers. Serve over fresh papparedelle, made from super rich pasta dough like this one from smitten kitchen or over any other pasta you like. Sprinkle over lots of fresh parsley.

Photos by Tyrel Hiebert

In meat, pasta Tags pasta, rabbit, olives, ragout
Comment

chess pie bars

November 30, 2015 Stephanie Inman

This recipe wasn't always bars; it started as pie. Chess pie. The first time I made it I followed the Milk Bar recipe and made it into a pie and that was great. But it struck me that the pie would make great cookie bars too.  There is something about pie that demands an occasion. A party or a weekend dinner.  A pie wants guests, planning, intention. A bar cookie is not similarly demanding. It is an afternoon snack, and a dessert and it is almost appropriate with coffee in the morning. It is potlucky, midweeky, casual, nonchalant. A bar is ready for you anytime.

Chess pie is a kind of sugar pie from the southern US. If sugar pie isn't ringing bells for you, other varieties include pecan pie, buttermilk pie, shoofly pie and butter tarts. Sugars pies have sticky, gooey, runny, not quite set up fillings in pastry or another crust, with or without extras like nuts, chocolate or fruit. Even if you make it in pie-form, this recipe is a big departure from traditional chess pie; the pastry crust has been replaced by an oatmeal cookie crumb crust. 

A note on weird ingredients: the corn powder in the filling is tricky to find. If you find a source of powdered, freeze-dried corn, that's perfect. If not you can look for whole freeze-dried corn kernels and grind them finely into a powder. I found mine in a Victoria institution, Capital Iron, a camping-gardening-kitchen-furniture-antiques-hot tubs-miscellany-everything store. It was in a kind of survivalist/prepper area of the store, with big drums full of food and supplies to outline the zombie apocalypse. The only size available was a huge four litre tin, bigger than my head. I am the now proud owner of a lot of freeze-dried corn. More than I can ever foresee using. It's worth it to find the corn, it give a nice, nutty, hard-to-put-your-finger-on sort of flavour, it's not like other sorts of sugar pie I have tried. If you can find very finely ground cornmeal, that will work too, though the freeze dried corn is more flavourful. If you need to skip it altogether though, you'll still have a respectable sugar pie and you can certainly add nuts or fruit or chocolate to make it more exciting. 

crust:

Adapted from Milk Bar. Note: This makes enough crust for two pies. The crumbs will freeze well so you can save them for next time. Or just eat the extra cookie.

  • 1/2 cup butter, at room temperature

  • 1/3 cup brown sugar

  • 3 tbs granulated sugar

  • 1 egg yolk

  • 1/2 cup flour

  • 1 1/2 cups rolled oats

  • 1/8 tsp baking powder

  • pinch baking soda

  • 1/2 tsp salt

Beat butter and sugars in a stand mixer until very fluffy. Reduce speed, add egg yolk and then return to high speed until fully incorporated. Scrape down the sides. Add all dry ingredients and mix on low speed until there are no dry spots. Dump the dough onto a parchment-lined cookie sheet and flatten it with your hands.

Bake at 350 for around 15 minutes, until it is golden brown and cool on a wire rack. Break apart into large chunks and pulverize them into a rough rubble in a food processor. Divide in half and set one half aside for later. 

filling: 

 Adapted from Milk Bar.

  • 3/4 cup granulated sugar

  • 1/4 cup + 2 tbs light brown sugar

  • 2 tbs milk powder

  • 2 tbs corn powder

  • 1/2 tsp kosher salt

  • 1/2 cup butter, melted

  • 160 g (3/4 cup) heavy cream

  • 1 tsp vanilla extract

  • 4 egg yolks

Combine sugars, milk powder, corn powder and salt in the bowl bowl of a stand mixer fitted with the paddle attachment.  Add melted butter and beat to combine. Add cream, egg yolks and vanilla and beat on low until combined and silky. 

assembly: 

  • 2 tbs butter, melted

  • 1/2 recipe of oat cookie crumbs

  • 1 recipe filling

Heat oven to 350. Line an 8x8 pan with parchment paper.  Mix oat crumbs with melted butter and press into the bottom of the parchment lined pan. Pour the filling over the oat crust. Bake for 15 minutes, the reduce the oven temperature to 325. Keep the door open for a couple minutes to help the temperature reduce. Then continue baking for about 5 minutes, until the middle of the pie is semi-set but still somewhat wobbly. Chill on a wire rack and then transfer to the fridge. Chill for at least three hours, preferably overnight. 

Photos: Tyrel Hiebert

In squares Tags bar cookie, chess pie, corn powder, sugar pie
1 Comment
← Newer Posts Older Posts →
Become a patron

Subscribe

Sign up to receive my monthly round up!

We respect your privacy.

Thank you!

Instagram

These bright and sunny cookies are stuffed full of tart lemon curd, and slightly vegetal from a good amount of basil pulsed into the sugar. The result is a chewy, herbaceous cookie that bursts with gooey lemon centres. Link in bio or here www.theverd
These bright and sunny cookies are stuffed full of tart lemon curd, and slightly vegetal from a good amount of basil pulsed into the sugar. The result is a chewy, herbaceous cookie that bursts with gooey lemon centres. Link in bio or here www.theverdigris.ca/blog/basil-lemon-curd-sugar-cookies * * * * * * * #cookies #lemon #basil #baking #kitchn #foodfluffer @foodblogfeed #foodblogfeed #instafood #thebakefeed #gloobyfood #hautescuisines #f52grams #huffposttaste #huffpostgram @feedfeed #feedfeed #foodphotography
From the archives: Crispy chocolate peanut butter squares: a candied, crispy puffed cereal base with layers of peanut butter and chocolate, all balanced with a good pinch of flaky salt. It’s like the best combination of a rice-crispy and a Reec
From the archives: Crispy chocolate peanut butter squares: a candied, crispy puffed cereal base with layers of peanut butter and chocolate, all balanced with a good pinch of flaky salt. It’s like the best combination of a rice-crispy and a Reece’s peanut butter cup. Search “the verdigris crispy peanut butter chocolate squares or use this link for the recipe: www.theverdigris.ca/blog/chocolate-peanut-butter-crispy-squares * * * * * * * #chocolate #peanutbutter #ricecrispy #kitchn #foodfluffer @foodblogfeed #foodblogfeed #instafood #thebakefeed #gloobyfood #hautescuisines #f52grams #huffposttaste #huffpostgram @feedfeed #feedfeed #foodphotography
Apricot and amaretti crumble - crisp, crumb topping softens on the bottom where it meets thick, gooey, sticky sweet-tart fruit. Crunchy, almond scented amaretti cookies spike through the crumb topping. Plus, fresh apricots look like the cutest little
Apricot and amaretti crumble - crisp, crumb topping softens on the bottom where it meets thick, gooey, sticky sweet-tart fruit. Crunchy, almond scented amaretti cookies spike through the crumb topping. Plus, fresh apricots look like the cutest little butts. Link in bio or here www.theverdigris.ca/blog/apricot-and-amaretti-crumble * * * * * * * #crumble #apricots #amaretti #baking #kitchn #foodfluffer @foodblogfeed #foodblogfeed #instafood #thebakefeed #gloobyfood #hautescuisines #f52grams #huffposttaste #huffpostgram @feedfeed #feedfeed #foodphotography
From the archives: A bit of a twist on a classic: these cookies have white chocolate, macadamia nuts and a little toasted coconut. I boosted the coconut flavour with a tiny bit of coconut extract, which you can leave out if you aren’t a fan. Wh
From the archives: A bit of a twist on a classic: these cookies have white chocolate, macadamia nuts and a little toasted coconut. I boosted the coconut flavour with a tiny bit of coconut extract, which you can leave out if you aren’t a fan. White chocolate can sometimes be way too sweet, so I also salted the tops of the cookies just a little, to round the sweetness. Also, I think it’s crucial to just slightly underbake them so they stay chewy and soft. Search for “the verdigris macadamia white chocolate coconut cookies” or use this link: https://www.theverdigris.ca/blog/macadamia-coconut-white-chocolate-cookies #cookies #macadamianuts #coconut #whitechocolate #kitchn #foodfluffer @foodblogfeed #foodblogfeed #instafood #thebakefeed #gloobyfood #hautescuisines #f52grams #huffposttaste #huffpostgram @feedfeed #feedfeed
These bright and sunny cookies are stuffed full of tart lemon curd, and slightly vegetal from a good amount of basil pulsed into the sugar. The result is a chewy, herbaceous cookie that bursts with gooey lemon centres. Link in bio or here www.theverd From the archives: Crispy chocolate peanut butter squares: a candied, crispy puffed cereal base with layers of peanut butter and chocolate, all balanced with a good pinch of flaky salt. It’s like the best combination of a rice-crispy and a Reec Apricot and amaretti crumble - crisp, crumb topping softens on the bottom where it meets thick, gooey, sticky sweet-tart fruit. Crunchy, almond scented amaretti cookies spike through the crumb topping. Plus, fresh apricots look like the cutest little From the archives: A bit of a twist on a classic: these cookies have white chocolate, macadamia nuts and a little toasted coconut. I boosted the coconut flavour with a tiny bit of coconut extract, which you can leave out if you aren’t a fan. Wh

Want to support the Verdigris? Become a patron!